Now that touch screens, especially on tablets and 2-in-1 devices like Surface Pro, have become common in Windows environment and system based app-scaling for ultra-high resolution displays has greatly improved – allowing all applications (and not only those specifically designed for high-density displays) to show decent size text and controls so that they can be accessed by touch – a vast range of native Windows desktop applications like Four Winds Mah Jong have become available in mobile context. Applications that a few years ago were labeled with a derogatory term “legacy” have gained revived interest, and not just for nostalgic reasons but because native Windows applications are often feature-rich and have depth and versatility that only a few universal Windows applications have.
While it is clear that universal apps developed to fully utilize the features of touch-based (and mobile) computing have capabilities not available for desktop software, the efforts seen by Microsoft to make a computing environment serving well all kinds of devices and computers, also when using native desktop software, have begun to bear fruit. This post gives instructions on how to best use Four Winds with touch devices like 8- and 10-inch tablets and 2-in-1 computers running Windows 8.1 and 10 desktop operating systems.
Choosing optimal screen resolution, scaling value and view mode
Since version 8.1 Windows has offered improved app-scaling, which is crucial to allow older software run satisfactorily in ultra-high-dpi screen context. Which combination of screen resolution and scaling setting to use to get best results is not necessarily easily determined, and it is likely that settings need to be changed according to demands of different applications, but happily it is fast and easy to change the settings: to access the controls, right click on your Windows desktop and choose Display settings from the context menu that is shown, then experiment with different resolutions and scaling values. On the other hand, on Windows 10 devices that use traditional screen resolutions, it might be a better idea to lower native screen resolution and/or app scaling, or set an individual application to ignore app scaling.
Earlier versions of Windows let you change outlook of individual user interface elements like the size of the menu font, title bar and window borders. Since Windows 10 Creators Update the user interface for this feature has been removed but the feature itself is still supported, but you need to tweak the system registry to access the settings. Happily there is a free tool called Winaero Tweaker that lets you access these settings easily. While changing individual elements is usually not necessary (since system app scaling starting from Windows 8.1 normally works well), it may be necessary to tweak the size of the menu font, especially on small touch devices that only support regular screen resolutions (e.g. 1280 x 800). On these kinds of devices app-scaling does not always give big enough system font for touch control. But it is better to first try without any registry tweaks since app scaling on recent Windows 10 versions works most often really well.
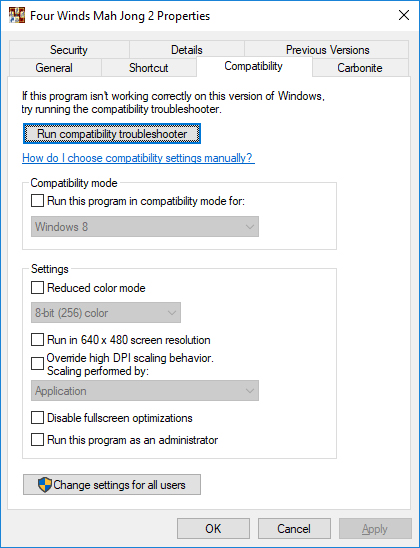
 Application-specific scaling is determined in the Compatibility tab of the program executable file. To access the the settings, click the Four Winds launch icon on Windows desktop with the right mouse button and choose Properties from the context menu. To have the application use the system’s app scaling, leave the “Override high DPI scaling behavior” box empty. To have the application use its internal app scaling, check the box, and then choose “Application” from the drop-down menu below.
 Four Winds supports a wide range of screen resolutions and layout options. When using a touch device, the goal is to find a combination of settings that make text and controls large enough to be easily accessible when using a finger. It is also meaningful to aim at full-screen game board to be able to cover the Windows taskbar and have tablet-like feel. To have keyboard input at hand when needed, it is also recommendable to run the system in Tablet mode (you can switch between the Tablet and Desktop mode by using the toggle button on the Windows Action Center – drag from the right edge to show it).

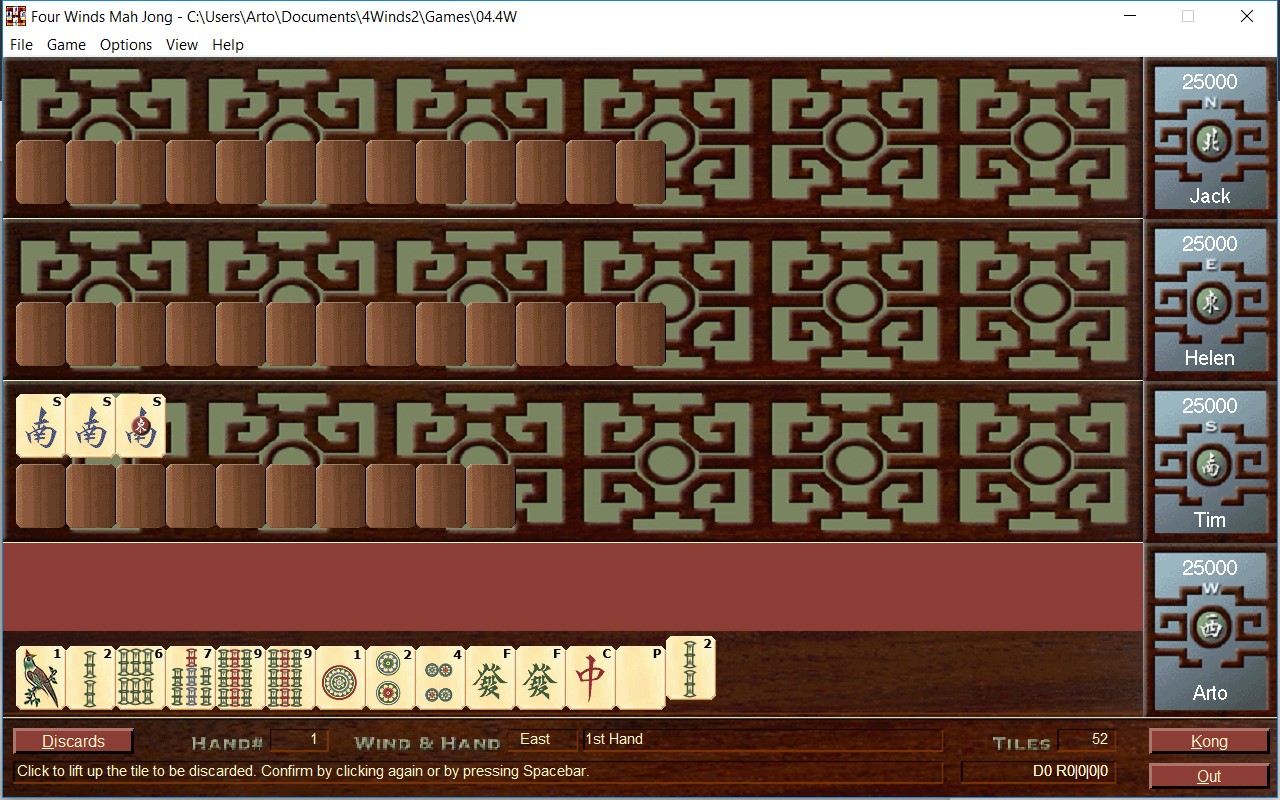
Four Winds running full-screen on a Windows 10 touch device: a low-end 8-inch Lenovo Miix 2 8 tablet using 1280 x 800 native screen with 125% app scaling. Four Winds runs using a compatibility setting that ignores system app scaling and applies internal app-scaling, instead, allowing the program to see the true system resolution and use its 1280 x 800 game boards with internally scaled system font and controls. Without the setting Four Winds would see the display as a 1024 x 640 screen, meaning that it could only use two possible game boards (Basic boards A and B), whereas ignoring the system app scaling it can also use Basic boards C and D, Integrated boards A, B and D, and Integrated Square boards N, O and P. Internal app-scaling works well because the device has low native screen resolution. While integrated game boards are available, the best touch experience can be achieved by choosing a basic board with big tiles and with separate view for discards (the Wall, player information and the Game Manager are available as separate windows).

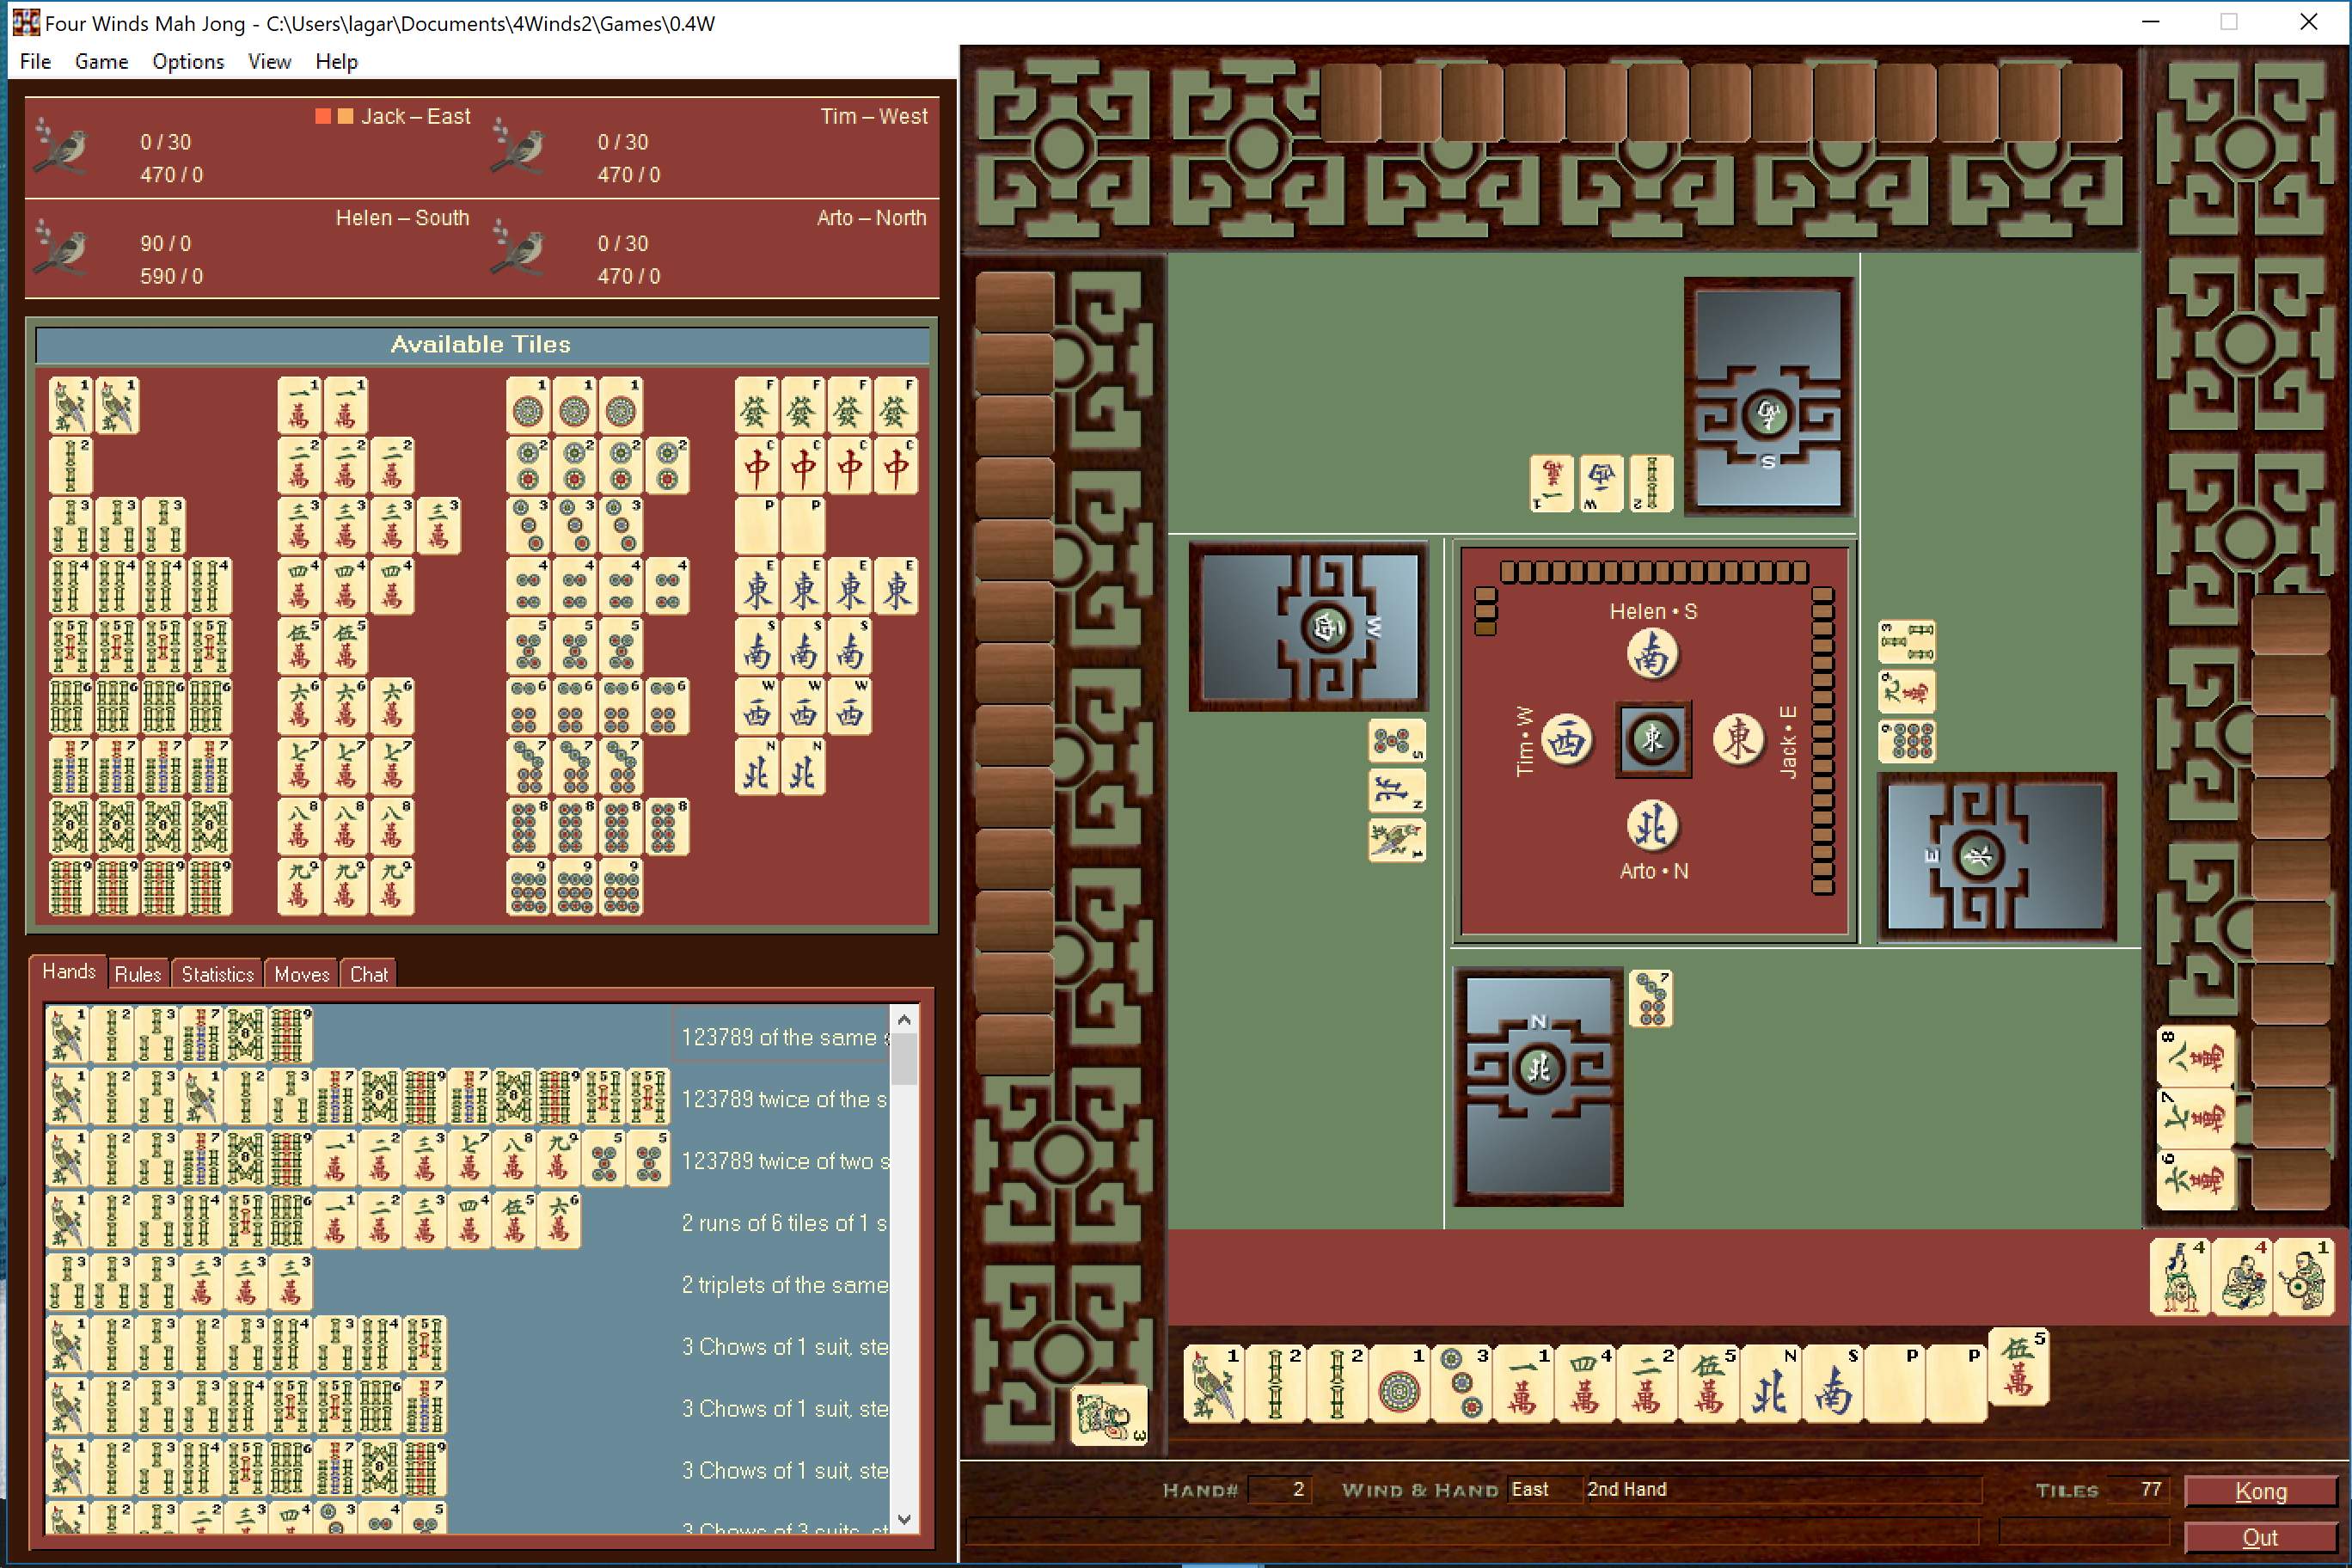
Another example of Four Winds running full-screen on a Windows 10 touch device: Surface Pro 4 using 2736 x 1824 native screen with 200% app scaling. Here Four Winds has its internal app scaling turned off while using the Integrated Square R game board (1386 x 912 pixels) scaled by 200% so that full native resolution of Surface Pro can be utilized. This is the largest game board that Four Winds can use when app-scaling is allowed: without app-scaling it could use its larger game boards, but even the 1920 x 1200 pixels game boards would only cover about a quarter of the screen, and internally scaled text would at some parts appear far too big (where internal scaling is applied, but the surrounding elements stay unscaled). With app scaling Four Winds cannot necessarily utilize its internal high-resolution tile graphics but the system does upscaling so well that there is no noticeable difference.
Changing mouse- and keyboard-dependent settings and triggering mouse events with a touch
The default mouse configuration of Four Winds for making a discard is clicking a raised tile with the right (secondary) mouse button, which naturally does not work in touch environment. It is necessary to change the default:
- Choose File > Preferences.
- From the option tree, click General under the User Interface category.
- Check the Touch screen friendly option (the setting increases spacing of certain controls and makes hit control a bit looser to allow more relaxed touch control).
- Click the Game Controls button.
- Within the Mouse control group, change the configuration for Discarding to Click on raised tile, and uncheck the Extended confirmation area box.
Note that Windows emulates the mouse-over event in touch environment with tap-and-hold triggered drag gesture (and also with simple tap when the click event is not processed). E.g., you can display information about the available tiles and discards by tapping individual tiles, or by tapping a tile, holding the finger down a while, and dragging the finger over desired tiles. You can use this feature also to compensate the inaccuracy of finger-based pointing especially when accessing menus: instead of just tapping a menu command, you can tap and hold at any point of a drop-down menu and then drag to highlight menu items, and release when the correct menu command is selected.
Similarly, you can usually perform right mouse click by double tapping. E.g., you can display the context menu related to the Hands tab of the Game Manager by double tapping the list of hands, and the context menu related to the Moves tab by double tapping the list of moves.
Using accessibility features to work around problems with input
When you run Windows in tablet mode, the touch keyboard is normally automatically shown whenever keyboard input is expected, and the icon for manual launch is normally available in the system tray area of taskbar (if it is not, you can ensure that it is by right tapping the taskbar and checking Show touch keyboard button). But it is a good idea to pin the on-screen keyboard on the taskbar, just to ensure that keyboard is readily available also in Desktop mode. To do that, switch to Desktop mode, then click Start > Settings > Ease of Access > On-Screen Keyboard. Once the keyboard is shown, right click (or tap and hold) to show the context menu and then choose Pin to taskbar.
You need a keyboard in Four Winds e.g. when saving games and entering input when customizing the rules. If you need to access the taskbar covered by Four Winds (either in Desktop mode or Tablet mode, without having a keyboard and Ctrl+Esc command available), you can display the taskbar by moving the Four Winds window off the 0,0 screen position. Aternatively, you can make the taskbar to be automatically hidden, and then forcing it to be shown by sweeping from the bottom edge. To make the taskbar autohidden (and accordingly a control that can be forced to be shown), right click/tap on the taskbar in the desktop mode and choose Taskbar settings, then enable the options “Automatically hide the taskbar in desktop mode” and “Automatically hide the taskbar in tablet mode”.
Hint: You can reposition Four Winds easily at screen top left corner (0,0 coordinate) by double tapping the title bar (or by dragging the window near top left corner as it will be snapped to 0,0 when moved near the top left corner of the screen). This way you can have full-screen-sized Four Winds, moved off from 0,0 coordinate, to again cover the taskbar and fill the entire screen.
Another accessibility feature that can be useful to compensate shortcomings of desktop applications not designed for touch devices is having the magnifier available whenever needed. To have that, click Start > Settings > Ease of Access > Magnifier > Turn on Magnifier. You can determine the percentage of incremental magnification using the settings (often increment of 25% or less is adequate for temporary magnification). Once turned on, you can pin the Magnifier on the taskbar.


